Anchor windlass installation
Since we prefer anchoring rather than squeezing into expensive marinas, and eventually got tired of hauling the anchor up by hand (and getting covered in mud in the process), we decided to invest in an electric windlass. We’re very happy with it so far. We installed it at the end of the season, so we haven’t had the chance to test it more than maybe ten times.
Below is a short step-by-step on how we installed it. We wanted the motor protected inside the forepeak, while keeping the chain in the chain locker, which complicated things a bit.
1. Positioning the windlass on deck
A paper template is included with the windlass, but in our case it didn’t match reality—it was off by almost 0.5 cm in places. Instead, we used the black rubber gasket that goes under the windlass as the template.
First, we needed to determine the thickness of the bulkhead in the forepeak towards the chain locker. I already had a small hole through it from previous cable routing, so I used that. I pushed a piece of steel wire through, bent it 90 degrees on one side, and cut it flush with the bulkhead on the other side. That gave me the exact bulkhead thickness.
Step two was to mark on deck where the bulkhead sits when viewed from above. To do that, I measured from the edge of the chain locker opening to the bulkhead on the inside, then transferred those measurements to the top side. I did this in several places and connected the marks with a line.
Now I could place the gasket (used as the template) to see where the windlass could be positioned. I quickly realized it would be tight to fit the motor on the inside close to the bulkhead while also letting the chain drop into the chain locker without drilling into the bulkhead.
I had planned to place a teak spacer under the windlass to lift it slightly off the deck, and then realized I could cut the chain hole at an angle, sloping forward. That moved the hole about 1.5–2 cm further forward and avoided the risk of drilling into the bulkhead.
2. Making a teak spacer plate and drilling the deck
I made the teak plate by using the gasket as a template and drawing a line about 1.5 cm outside it. I also drilled the holes according to the paper template that came with the windlass—making the forward chain hole angled at roughly 30 degrees.
I dry-fitted everything and measured carefully on deck. I first drilled a small pilot hole to make sure everything would end up in the correct place. It’s much easier to measure from a pilot hole, and it disappears once you drill the full-size hole anyway.
After a few minor adjustments, we drilled the large hole for the motor and then the smaller hole for the chain. Everything looked like it was lining up correctly, so the only holes left were for the bolts.
Once those were drilled, we test-fitted everything. It all fit well, but the raised edge/lip around the chain locker opening had to be cut back slightly for the teak plate and windlass to sit properly. I marked exactly where material needed to be removed and worked slowly using a multi-tool, an angle grinder with a sanding disc, a hammer and a chisel until we achieved a good fit.
3. Sealing the holes to prevent water ingress
Luckily, the Monsun has Divinycell as the core material in the deck, which doesn’t absorb water and doesn’t rot easily. Even so, I usually fill the edges of any holes drilled through the deck with thickened epoxy so water can never reach the core. I also believe it helps the deck resist compression better when tightening the bolts.
I used a small Allen key with the long end chucked into a drill to remove some of the core material around the holes. Once that was done, I taped off the underside and poured epoxy into the holes. When it had cured, I re-drilled the holes to size.
4. Installation and electrics
The next step was simply mounting the motor and the windlass. It’s best to be two people for this—one inside holding the motor while the other is on deck positioning the windlass. We used plenty of Sikaflex as sealant and tightened everything down.
Once the windlass and anchor were in place, it was time to wire it up. Typically, you either use the house batteries under the port berth and run long, heavy-gauge cables from there, or you do what we chose: install a dedicated battery in the forepeak.
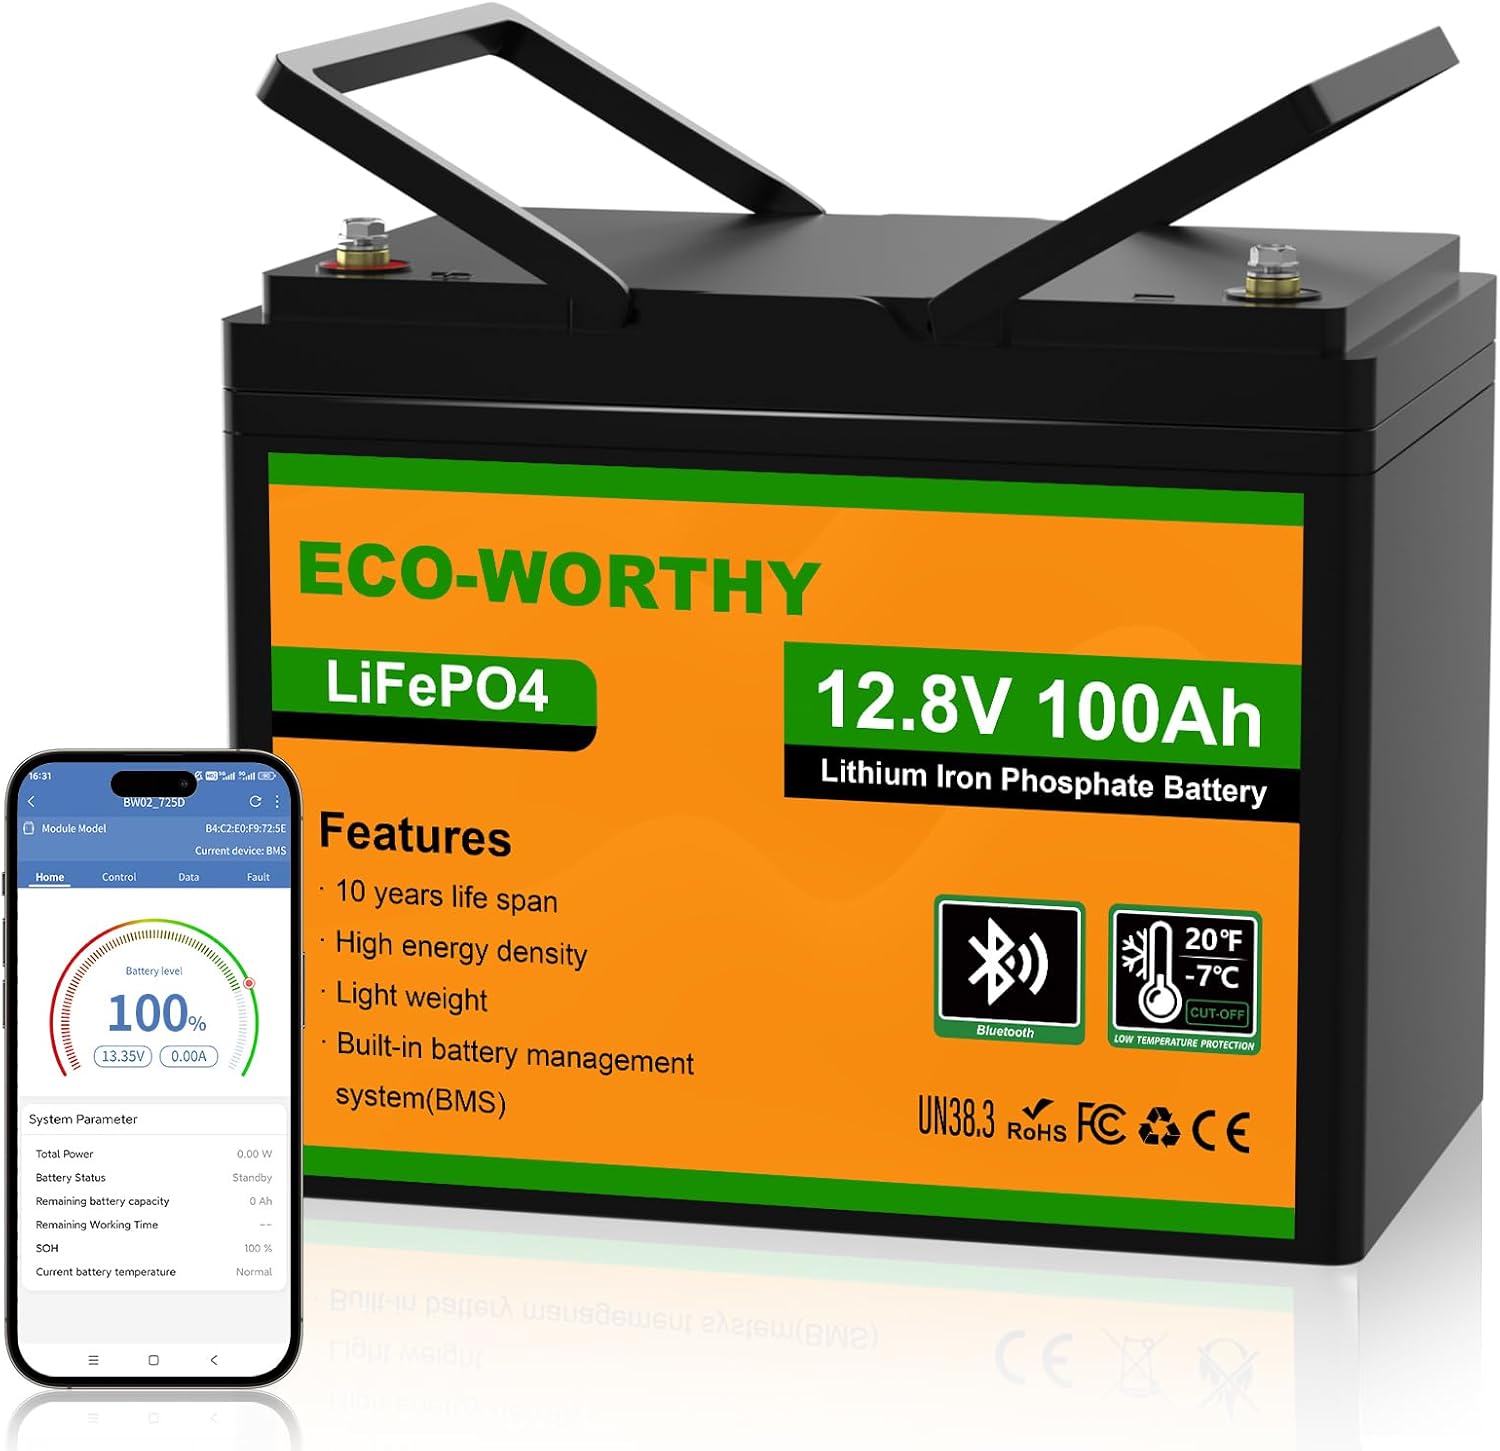
In our case, it was cheaper—the heavy cables would have cost more than a new battery. We chose a 100 Ah LiFePO4 battery, mounted in the forepeak against the bulkhead to the wardrobe. From the battery we ran 25 mm² cables above the water tank and behind the teak battens up to the motor. We also installed a battery switch on the bulkhead next to the wardrobe, and an ANL fuse.
5. Up/down control and/or remote control
At this point everything is wired and installed, but you still need a way to control the windlass up/down. Common options are a handheld wired controller stored in the chain locker, or foot switches mounted on deck.
I didn’t want foot switches and even more holes in the deck. I considered a wired controller, but they seemed very expensive. It would have been easy (and much cheaper) to build one myself, but I chose to buy an inexpensive wireless remote that triggers the relay, for about 200 SEK.
It has worked perfectly. The receiver is installed at the very front of the forepeak, but I can still stand in the cockpit and lower or raise the anchor. I’m very happy with this simple little remote. I may build a wired controller as a backup in the future.
6. Modifying the anchor locker hatch to clear the windlass
The anchor locker hatch needs a small modification in order to close after the installation. This was an easy job with an angle grinder, but take it slowly step by step to get a good fit.
I’ll link all the equipment we used for this installation below. If you have any questions, feel free to contact us—we’re happy to share more details or offer tips.